

It’s never a convenient time for your car battery to die, whether it’s in your garage or a parking lot. You may just need to jump-start your battery in order to get moving again. If you’ve never done it, the process can seem daunting, but it’s pretty simple once you get the hang of it. Start by reading your owner’s manual and taking basic safety precautions and, with a little luck and some electricity, you can have that car up and running in no time. Our step-by-step guide on how to jump your battery can help get you safely back on the road.
What You Need Before Jump-Starting a Car
Keep this quick checklist in your vehicle so you’re ready to jump-start your car safely and without hassle:
- Jumper cables: Choose longer cables if possible, so you have the flexibility when positioning vehicles nose-to-nose or side-by-side.
- Working vehicle or portable jump starter: You’ll need a second car with a good battery or a charged jump pack if you prefer to handle it yourself.
- Proper vehicle positioning: Park close enough for the cables to reach, turn off both vehicles, and engage the parking brakes.
- Battery check: Inspect for visible damage, corrosion, or leaks. Don’t attempt a jump if the battery is cracked or leaking.
- Mechanical gloves: Protect your hands from sparks, corrosion, and grime.
- Flashlight: Always keep a flashlight in your car’s emergency kit for low-light situations or nighttime breakdowns.
- Owner’s manual: Keep this in your glove compartment so you can confirm the correct battery terminal location and any vehicle-specific instructions.
- Safety awareness: Keep metal objects away from terminals, and follow the correct cable connection order to avoid sparks, damage, or electric shocks.
How to Use a Portable Jump Starter
A portable jump starter can provide a convenient alternative when another vehicle isn’t available. These compact battery packs can deliver enough power to the vehicle’s battery to help start the engine. Follow the manufacturer’s steps for your specific portable battery starter, but in general:
- Make sure you’ve charged the jump starter, and confirm it’s compatible with your vehicle. Portable jump starters vary by vehicle type and power capacity, so be sure to check the product instructions before use.
- Connect the jump starter to a turned-off vehicle according to your manufacturer’s instructions, paying close attention to the positive and negative terminals.
- Attempt to start the vehicle once you have secure connections.
- If it starts, disconnect the jump starter as directed by the manufacturer, and store the unit safely for future use.
Can You Jump-Start a Hybrid or Electric Vehicle?
Hybrid and electric vehicles can have different procedures for dealing with a dead 12-volt battery. Although an EV or hybrid may have a high-voltage battery, that doesn’t mean the high-voltage system should be accessed or used for a jump-start. If your vehicle’s 12-volt battery is dead, follow the manufacturer’s instructions for connecting an external power source. Some models have designated jump-start terminals, while others may have specific procedures for accessing the 12-volt battery. If you’re unsure about the correct procedure for your car, contact the manufacturer, roadside assistance provider, or a qualified technician.
What to Do If Your Car Still Won’t Start
If the vehicle still won’t start after a jump, it may not be just the battery. Your first step should be to avoid repeatedly attempting to crank the engine, as that can actually make things worse in the long run. Here are a few reasons your car may still not start:
- Your cable connections aren’t positioned correctly. Loose or incorrectly positioned clamps may prevent enough power from reaching the disabled vehicle. Make sure the jumper cable clamps are attached to the right terminals and that the connection points are clean and secure.
- The battery may be too weak or damaged to accept a charge. A clicking sound when you turn the key or press the start button can mean a low battery, although other electrical or starting-system problems can cause similar symptoms.
- A faulty starter can prevent the engine from turning over. If the engine cranks normally but won’t start, the issue may involve something other than the battery, such as the fuel or ignition system.
- Your alternator could also need inspection. Because it helps recharge the battery while the engine runs, an alternator problem can cause a vehicle to lose its charge again soon after a jump-start.
If the vehicle won’t start after checking the connections and attempting a proper jump-start, or if it starts but quickly dies again, consider calling roadside assistance or a qualified mechanic.
A dead battery can happen unexpectedly, but the right auto insurance coverage can help you prepare for roadside emergencies. Depending on your policy, roadside assistance may help with services such as jump-starts, towing, and other breakdown situations. Review your auto insurance policy to understand what roadside services are available to you and whether additional coverage may be appropriate for your needs. Mercury is here to offer support and ensure you have the right auto coverage.
Contact us today for a fast, free quote!
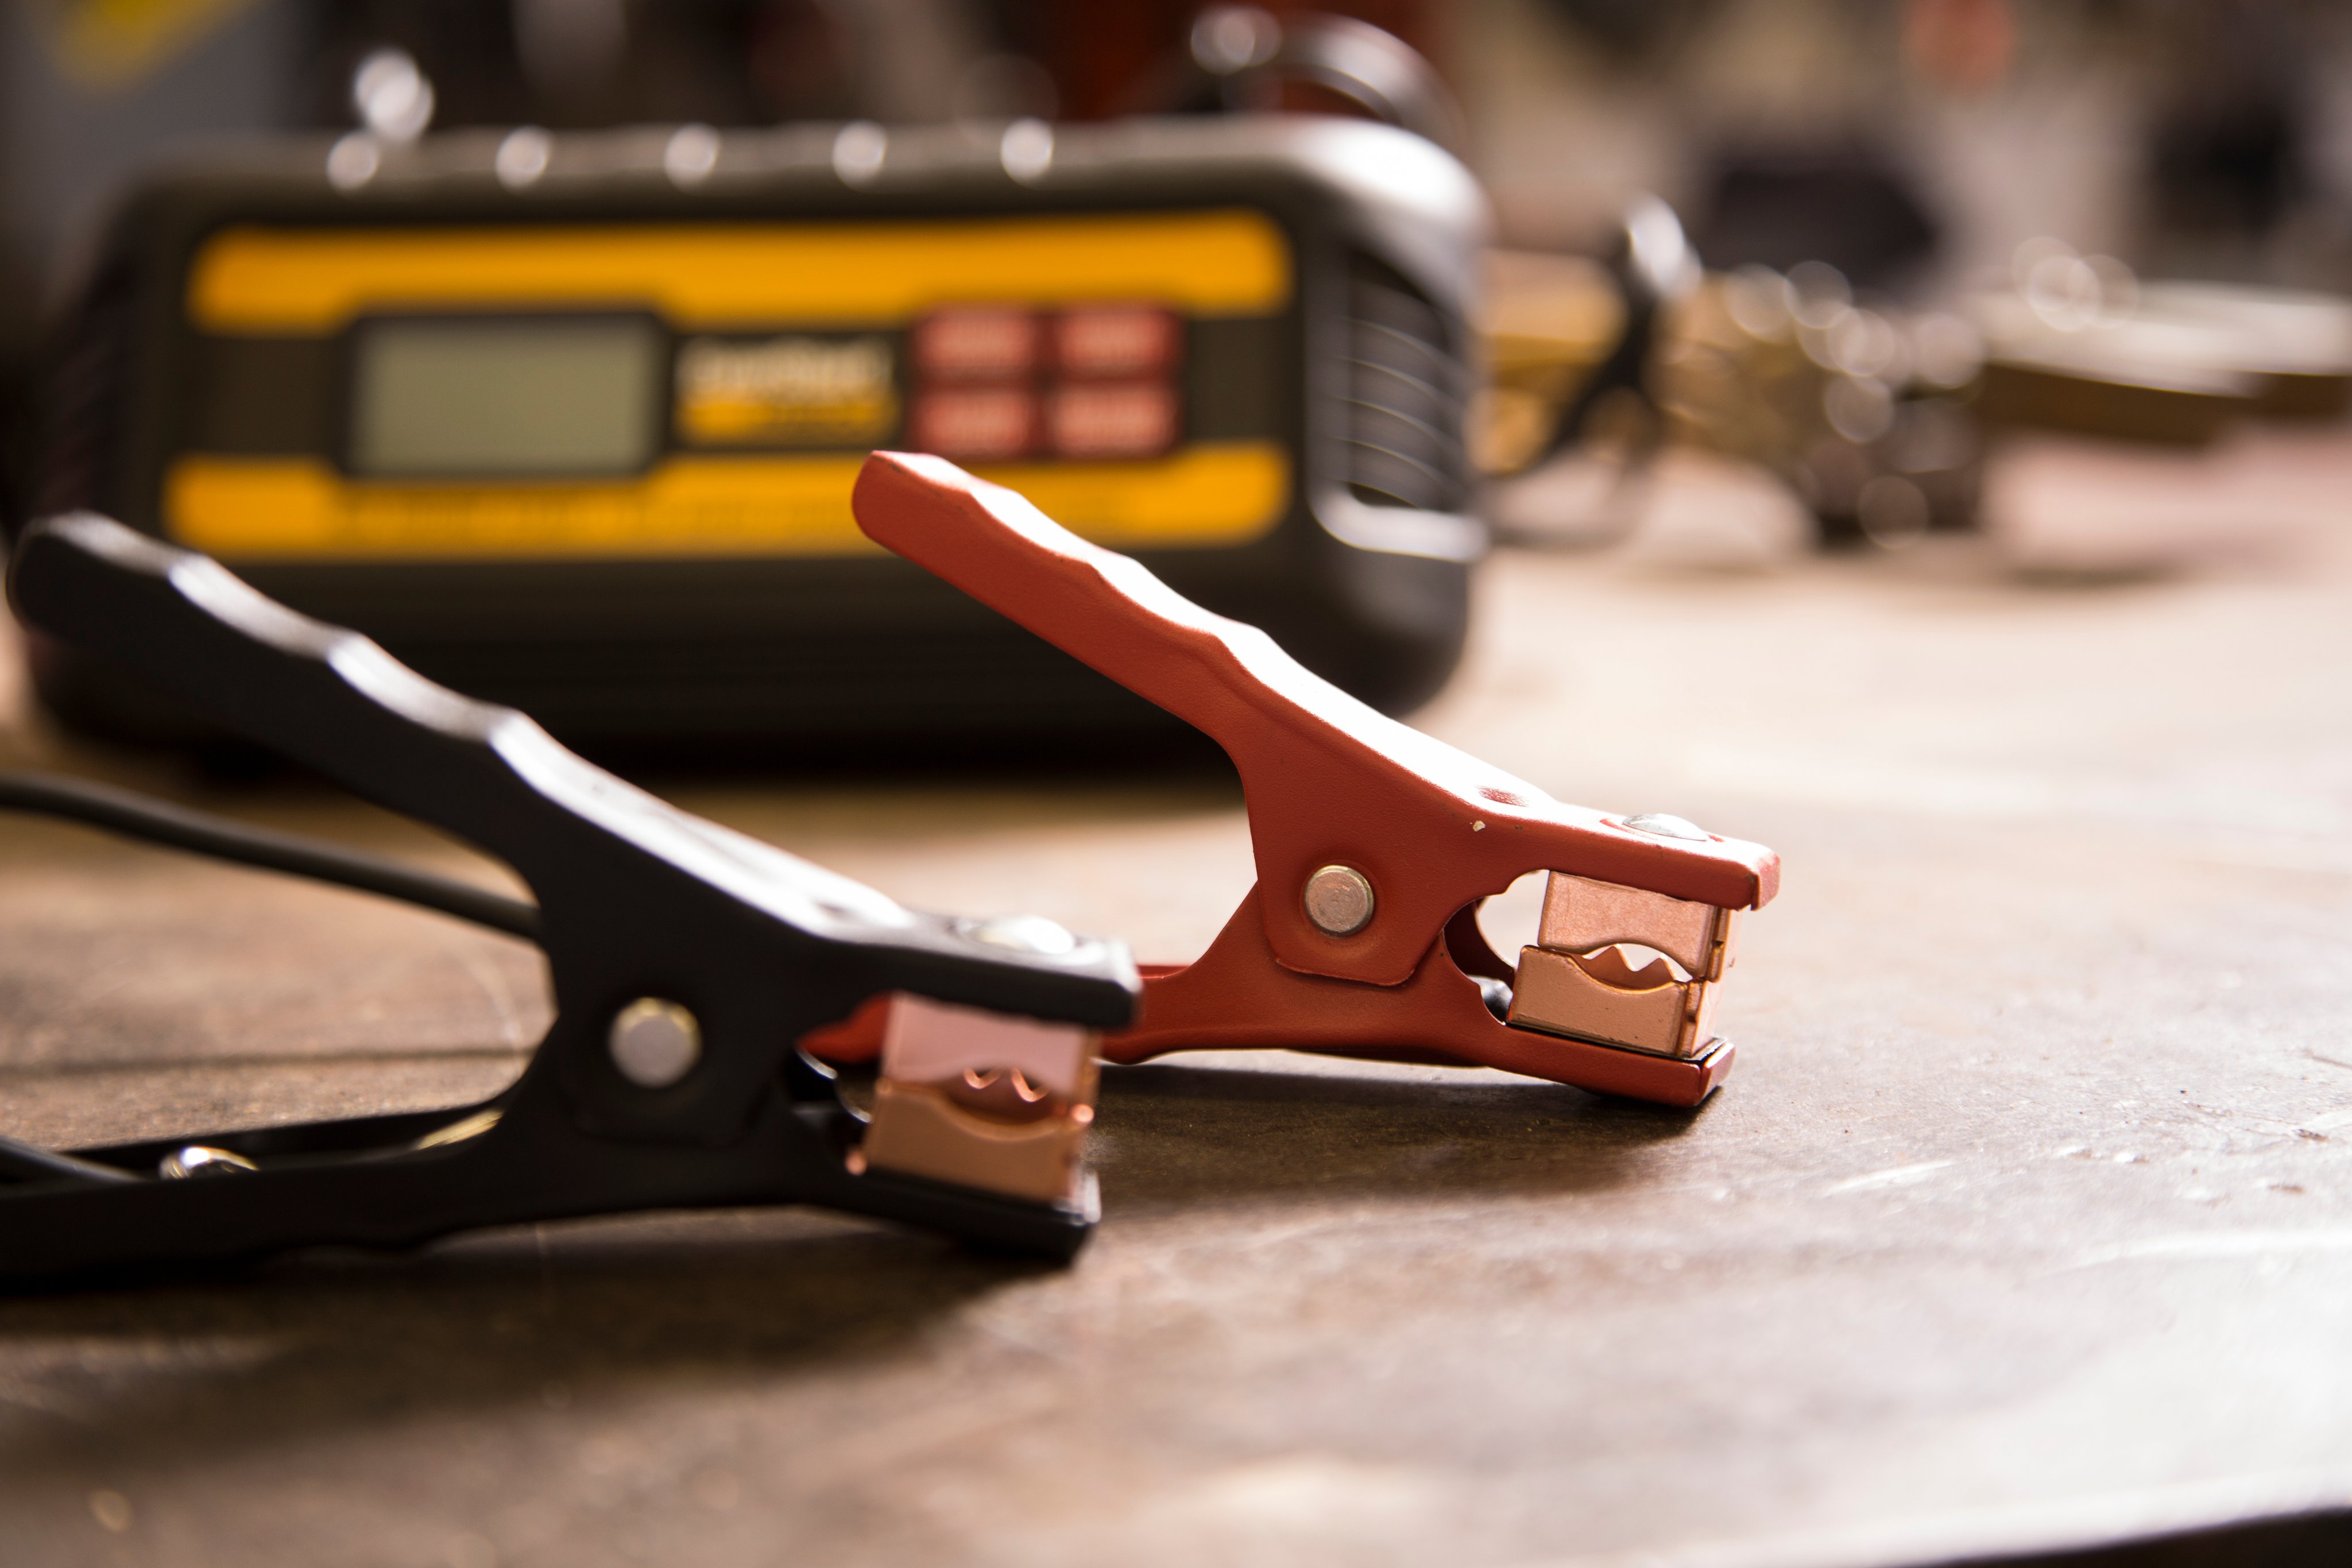
How to Jump-Start a Car With Jumper Cables
Follow this step-by-step guide on how to hook up jumper cables and jump-start your vehicle:
Step 1: Position and Prepare Vehicles
- Park the working vehicle close enough for cables to reach (front-to-front or side-by-side), without letting the cars touch.
- Put both vehicles in park, engage the parking brakes, and turn everything off (lights, radio, chargers, AC).
- Remove the keys from the ignition and open both hoods.
Step 2: Identify the Correct Terminals
- Locate each battery’s positive (+) and negative (–) terminals.
- Remove any terminal covers if needed.
- Confirm there’s no visible damage like cracks or leaks. If there is, don’t attempt a jump.
Step 3: Connect the Jumper Cables
Connect them in the order below, and make sure clamps are secure and cables aren’t near moving engine parts:
- Red clamp → Dead battery (+)
- Red clamp → Good battery (+)
- Black clamp → Good battery (–)
- Black clamp → Unpainted metal ground on the dead car (not the negative terminal)
Step 4: Start Both Vehicles
- Start the working vehicle first, and let it run for a few minutes.
- Then start the dead vehicle.
- If it doesn’t start, wait a few more minutes and try again.
- Once it starts, leave both cars running for several minutes to stabilize the charge.
Step 5: Disconnect the Cables Safely
Remove them in the below (reverse) order, and confirm that clamps aren’t touching each other or metal surfaces during the removal.
- Remove black clamp from grounded metal (dead car)
- Remove black clamp from good battery (–)
- Remove red clamp from good battery (+)
- Remove red clamp from previously dead battery (+)
Let the restarted car run for 10 to 15 minutes, or drive it, to help recharge the battery. If it struggles to start again later, the battery may need to be replaced or further inspected.
Frequently Asked Questions
Which Jumper Cable Goes on First?
When learning how to use jumper cables, keep in mind that the red positive (+) cable is typically connected first. With both vehicles turned off, connect the red clamp to the positive terminal of the dead battery, then connect the other red clamp to the positive terminal of the working battery. Next, connect the black negative (−) clamp to the negative terminal of the working battery and attach the other black clamp to an appropriate unpainted metal grounding point on the disabled vehicle, if the vehicle manufacturer recommends that method.
How Long Should You Leave Jumper Cables Connected?
After connecting the cables correctly, wait a few minutes before attempting to start the disabled vehicle. This can give the battery some time to receive a charge from the working vehicle. If the disabled vehicle doesn’t start after a few attempts, stop cranking the engine to avoid repeatedly draining the assisting vehicle’s battery.
How Long Should You Drive After a Jump-Start?
If the vehicle starts, driving it for 10 to 15 minutes can allow the alternator to replenish some of the battery’s charge. However, driving isn’t a guarantee that a severely discharged or failing battery will fully recharge. If possible, have the battery and charging system inspected after a jump-start, particularly if the battery is older, the vehicle needs a jump unexpectedly, or the car has trouble starting again.

The Mercury Marketing Team is made up of professionals in the fields of Content Creation, Public Relations, Social Media and Journalism. The team works together to deliver professionally written and researched content to provide information for consumers.